When hanging pegboards in a store or workshop, safety is paramount. People use wall studs, furring strips, and sturdy hardware to securely hang pegboards. Choosing robust hooks, such as IDmate plastic hooks, helps ensure tools or products are safe and organized. Failure to follow the correct steps can lead to safety hazards such as loose hooks or a tilting board. Whether you’re installing a pegboard in your kitchen, mounting it to drywall or concrete walls, or attaching a DIY pegboard to wall studs, following the correct steps prevents accidents and ensures the display is secure.
Key Takeaways
- Before you begin, gather essential tools such as a stud finder, level, and sturdy screws. Preparing in advance saves time and reduces errors.
- Use sturdy components, such as heavy-duty screws and furring strips, to secure the pegboard to the wall studs. This keeps the pegboard stable and safe.
- Carefully measure and mark the wall before you begin. Good planning prevents the pegboard from being crooked and helps prevent accidents.
- After installing the pegboard, gently pull on it to check for any wobbling to test its stability. This ensures it can safely hold items.
- Regularly inspect the pegboard and hooks for damage or wear. Repair any problems immediately to keep your space safe and organized.
How to Hang a Pegboard: Tools and Materials

Essential Tools Checklist
Before you begin, gather your tools. This will help you work faster and more safely. Here is a simple checklist:
- Stud finder
- Level
- Tape measure
- Pencil or marker
- Power drill and drill bits
- Screwdriver
- Heavy-duty screws and wall anchors
- Wooden strips (battens)
- Safety glasses and gloves
Having all your tools ready will help you avoid mistakes. It will also save you time.
Recommended Hardware for Heavy Pegboards
Heavy-duty pegboards require sturdy hardware. Most people use heavy-duty screws and anchors. These secure the board to the wall studs. Wooden strips can be used to create space behind the pegboard. This makes hanging hooks easier and keeps the board stable. Some people use HEAVYWEIGHT™ hooks. These hooks are made of thick steel wire. They have a durable black coating. You can find hooks in various shapes, such as double hooks, single hooks, ring hooks, or small J-shaped and L-shaped hooks.
Tip: PegBoard MX® pegboards can support up to 1 ton if the weight is evenly distributed. If you use multiple panels, the total weight capacity can be doubled.
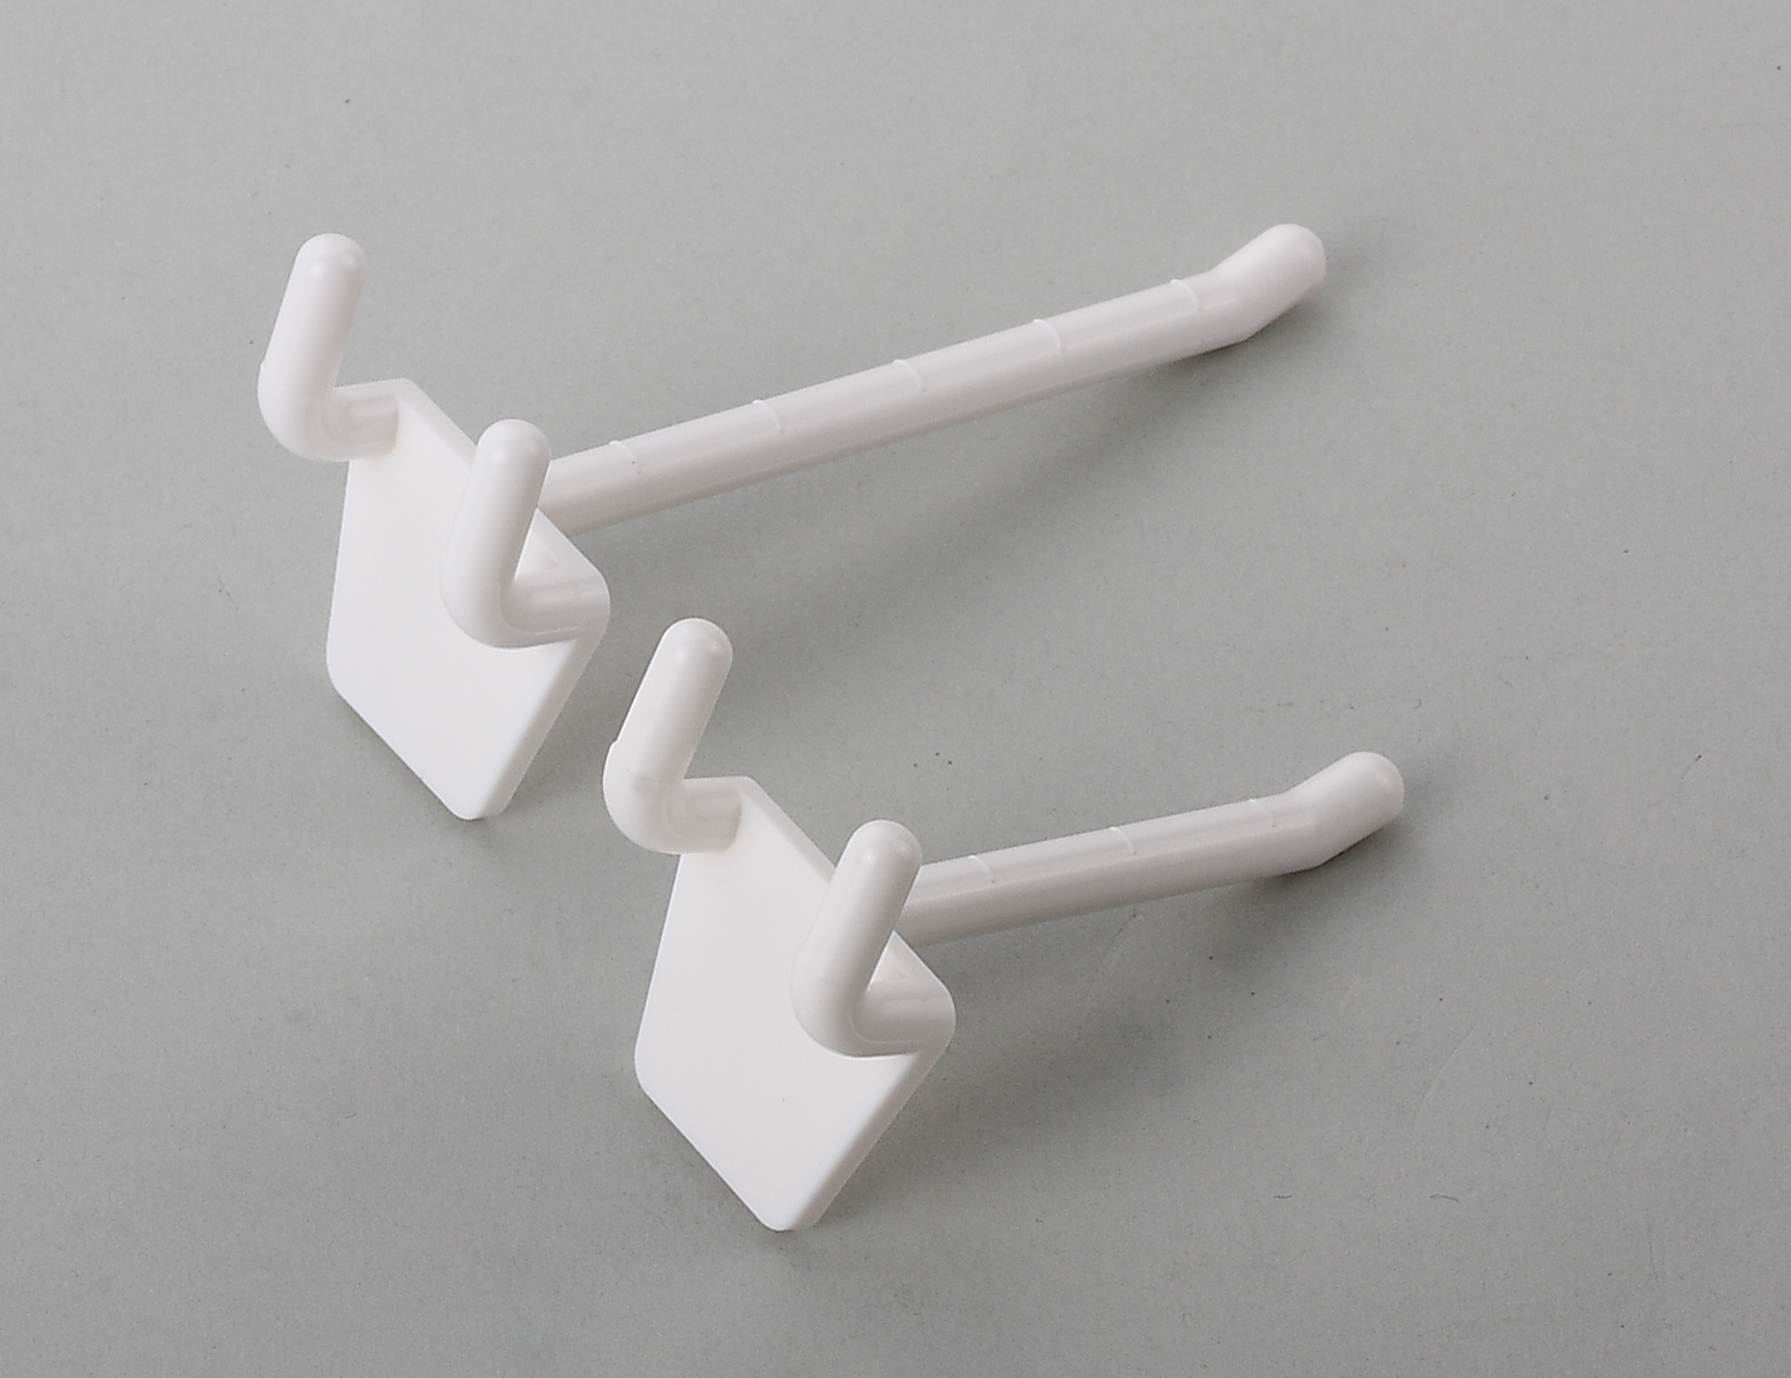
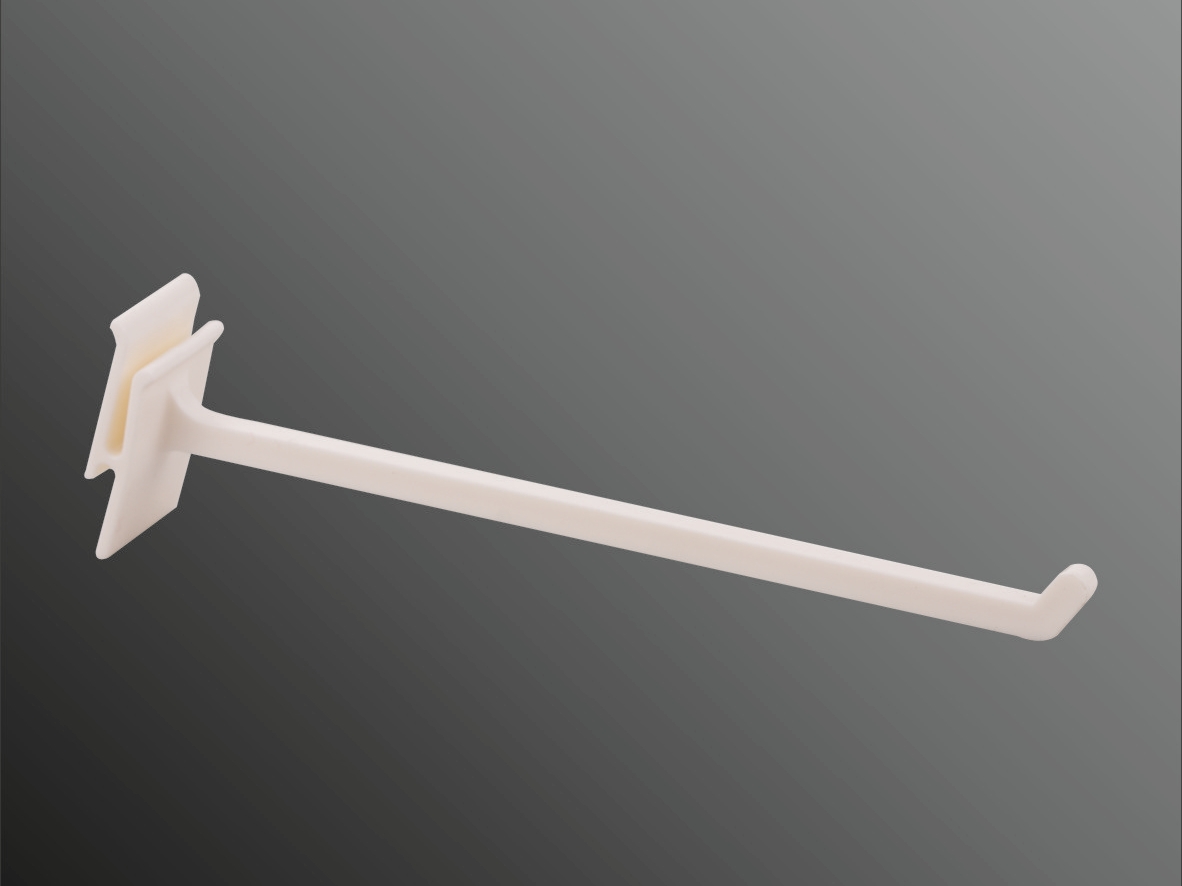
Choosing Pegboard Hooks
Choosing the right hooks ensures items are stored safely and neatly. Many people prefer plastic hooks. They are lightweight, rust-proof, and easy to use. IDmate plastic hooks work with most pegboards. They come in various shapes and sizes. These hooks won’t scratch the pegboard surface, helping to maintain a clean display. Here’s a brief comparison table:
| Feature | Plastic Pegboard Hook | Metal Pegboard Hook |
|---|---|---|
| Load Capacity | Suitable for light to medium-weight items | Best suited for heavy tools |
| Durability | Moisture-resistant, versatile | Very durable, but may rust or scratch |
| Safety | Smooth edges, easy to use | May have sharp edges |
Please be sure to select the appropriate hooks based on the weight of the pegboard and the items. For most shops and homes, IDmate plastic hooks are both safe and economical.
Simple Pegboard Installation Steps
Planning and Measuring
Planning helps everyone avoid mistakes before installing pegboard. They should choose the installation location for the pegboard. People typically use a tape measure to measure the wall space. They can hold the pegboard against the wall to see if it fits. If there are outlets or switches on the wall, they should mark these locations. Using a pencil works best.
Here are some planning and measuring tips:
- Determine the installation height of the pegboard.
- Use a level to ensure the lines are straight.
- Mark the top and bottom edges with a pencil.
- Check if the wall studs align with the corners of the pegboard.
Tip: Careful measuring makes the subsequent installation process much easier.
Locating Wall Studs
Wall studs provide the strongest support for heavier pegboards. People can use a stud finder to locate the studs behind the wall. Most studs are spaced approximately 16 inches (about 40 cm) apart. Once the studs are found, they should be marked with a pencil. A level helps keep the markings straight. If the studs don’t match the corners of the pegboard, expansion bolts can be used at these locations.
Steps for finding studs:
- Turn on the stud finder and move it along the wall.
- Listen for a beep or watch for an indicator light.
- Mark the location of each stud with a small line.
- Carefully check the markings with a tape measure.
Installing Furring Strips
Furring strips create space behind the pegboard. This space allows hooks to be easily inserted and removed. People use wood strips as furring strips. They should cut the strips to the same length as the width of the pegboard. The strips span across the wall, aligning with the stud markings.
Steps for installing furring strips:
- Hold the furring strip against the wall.
- Drill pilot holes through the furring strip and into the studs.
- Secure the furring strip to the wall using heavy-duty screws.
- Repeat the above steps for the top and bottom of the pegboard area.
Note: Drilling pilot holes helps prevent the wood from splitting.
Securing the Pegboard
Now it’s time to hang the pegboard on the wall. People should lift the pegboard and align it with the furring strips. They can ask a friend to help hold it in place. Using a power drill, drill holes through the pegboard and into the furring strips. Heavy-duty screws are best suited for this step. For the most secure fastening, the screws should be driven into the wall studs behind the wooden strips.
Quick Screw Selection Guide:
| Screw Type | Best Use | Load Capacity |
|---|---|---|
| Wood Screws | Into studs or strips | High |
| Toggle Bolts | Drywall (no stud) | Over 50 lbs |
| Molly Bolts | Medium loads | 25-50 lbs |
Ensure all screws are tightened. If the pegboard cannot be secured to wall studs, expansion bolts can be used for additional support.
Testing Stability
Testing the stability of the pegboard ensures everyone’s safety. After installation, gently pull on the pegboard. It should not move or wobble. You can start by adding a few hooks and hanging some lightweight items. If the board remains flat and secure, you can then add heavier tools or products.
Simple Testing Checklist:
- Push and pull on each corner of the pegboard.
- Hang some items and observe for any sagging.
- Check that all screws and bolts are tightened.
- Ensure the board is flush against the wall.
Tip: If the pegboard feels loose, add more screws or check the wooden strips.
With these steps, anyone can easily install a pegboard. They can install it in their shop, garage, or workshop and be confident that it will remain secure.
Common Mistakes and Pro Tips
Mistakes to Avoid
Many people make simple mistakes when installing pegboards. These mistakes can lead to an unstable display and even potential accidents. Here are some of the most common problems:
- Skipping the leveling step. A tilted pegboard looks messy and can cause hooks or items to slide off.
- Using expansion bolts that are too short. Shallow expansion bolts cannot withstand heavy loads and may pull out.
- Overloading a single hook or mounting point. Even strong fasteners will fail if subjected to excessive weight.
- Ignoring the wall material. Using the wrong expansion bolts for drywall, brick, or concrete walls can cause the pegboard to fall.
- Spacing fasteners too far apart. Large gaps can cause the board to bend or sag between the screws.
- Choosing the wrong hardware. Insufficiently strong expansion bolts or screws may not support the weight of tools or products.
Tip: Always choose the appropriate type of expansion bolts and screws based on the wall material and the weight you plan to hang.
Tips for Extra Strength
Several expert tips can make any pegboard installation more secure and durable. Try these methods for a more robust installation:
- Install wooden strips or horizontal supports behind the pegboard. Secure them to the wall studs to distribute the weight.
- For heavier or valuable items, use industrial-grade hooks or locking kits.
- Distribute heavy tools across multiple hooks instead of hanging them all on a single hook.
- Check the weight limits of the hooks and hardware every few weeks. Check for loose or displaced hooks and replace worn parts immediately.
- Ensure that the weight or shape of the tools hasn’t changed in a way that affects balance.
Note: Regular checks help prevent accidents and ensure the safety of your belongings.
With these tips, anyone can avoid common mistakes and enjoy a sturdy and reliable pegboard installation experience.
Installing even heavy pegboards becomes easy with the right steps. First, measure and plan. Next, use sturdy tools and hardware for secure installation. After installation, the pegboard should be checked every few weeks. Check for loose hooks or tilting boards. If problems are found, add support or adjust hook positions. High-quality plastic hooks like those from IDmate help keep everything safe and tidy. A secure pegboard allows everyone to enjoy an organized space.
FAQ
What size hooks are suitable for most pegboards?
Most pegboards use hooks with a diameter of 1/8 inch or 1/4 inch. The hole spacing is typically 1 inch. Be sure to check the specifications of your pegboard before purchasing hooks.
Are plastic pegboard hooks strong enough to hold heavy items?
Plastic hooks from brands like IDmate can hold light to medium-weight items. For heavier tools, shorter, thicker hooks are recommended. Always check the weight limit before hanging heavy objects.
How can I avoid damaging the wall when installing a pegboard?
Use a stud finder to locate wall studs. Drill pilot holes before screwing in the screws. Using a wooden strip can distribute the weight and protect the wall surface.
Can plastic hooks be customized to suit different display needs?
| Feature | Custom Colors | Custom Shapes | Brand Logo |
|---|---|---|---|
| IDmate Hooks | ✅ | ✅ | ✅ |
IDmate offers custom color, shape, and logo services for plastic hooks. This helps stores create products that match their brand style.


